Education & Help
Jump-starting a battery
2 min read time
If your battery needs a jump, here’s how to get some life back into it.
Pay close attention to the connection order; it’s one of the most common and overlooked causes for unsuccessful jump-starts.
You’ll need jumper cables and another vehicle. Make sure the second vehicle is parked close enough to allow you to connect the jumper cables to the batteries in each car with plenty of slack. Most cables are about six feet long. Check your owner’s manual for your vehicle battery location and terminal placement.
- Open both vehicle hoods and locate the batteries.
- Remove any terminal covers and corrosion.
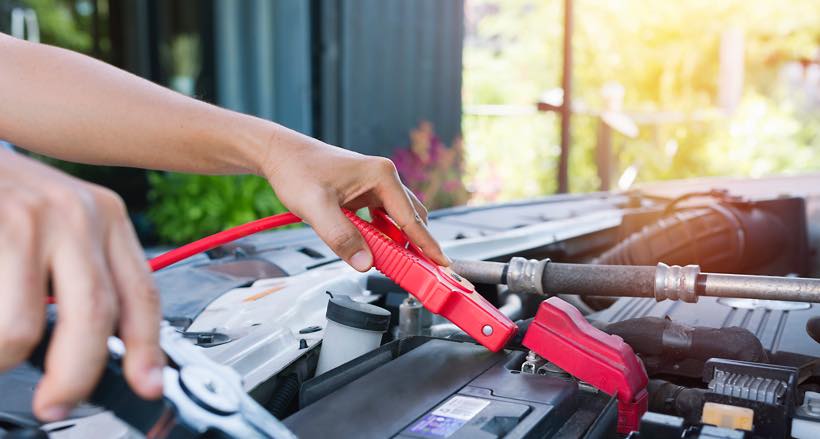
- Attach the positive (red) jumper cable to the positive (red) terminal of the dead battery. Make sure both metal clamps are firmly in contact with the terminal.
- Attach the other end of the positive (red) jumper cable to the positive (red) terminal of the assisting battery.
- Attach the negative (black) jumper cable to the negative (black) terminal of the assisting battery.
- Attach the other end of the negative (black) jumper cable to an exposed metal part of the disabled vehicle's engine, away from the battery and the carburetor/fuel-injection system.
- Start the assisting vehicle's engine.
- Start the disabled vehicle's engine.
- Allow both vehicles to run connected for about three minutes.
- Leave the jump-started vehicle running and disconnect the cables in the reverse order that they were attached and close the hoods.
- Keep the jump-started vehicle's engine running for about a half hour to allow the battery to fully charge.
Source: Jumper cable instruction manual
Selected Store